

With the help of Pinterest, I found a link on how to make these, here it is: http://www.ehow.com/ehow-crafts/blog/sweater-to-mittens-smittens/
I followed her ideas, but used this retro unusued blanket that was left over after my "It's Not Too Spooky" Pop Up sale in my pole building. It was marked $3; here are the blankets that were left:

There it is on top of the pink wool bat one...which, by the way, I put in the barn cat's house for the winter - they love it!

I brought the blanket in the house and washed it. It was pretty stiff - new and usused from 1970 something. It came from a farm house buy out I did.

I made my own pattern with help from the link and traced it on to the blanket.


Tip: always put right sides together....it is confusing because you make 2 of the same hand - these are lined mittens. So, just lay out your pattern and think how it will fit together inside the other....I made 3 mittens; as I made 2 of the same hand....LOL. Then I used the blanket binding for the cuff. Just cut a section of the binding larger than the mitten opening. Sew the edges together to make a circle.


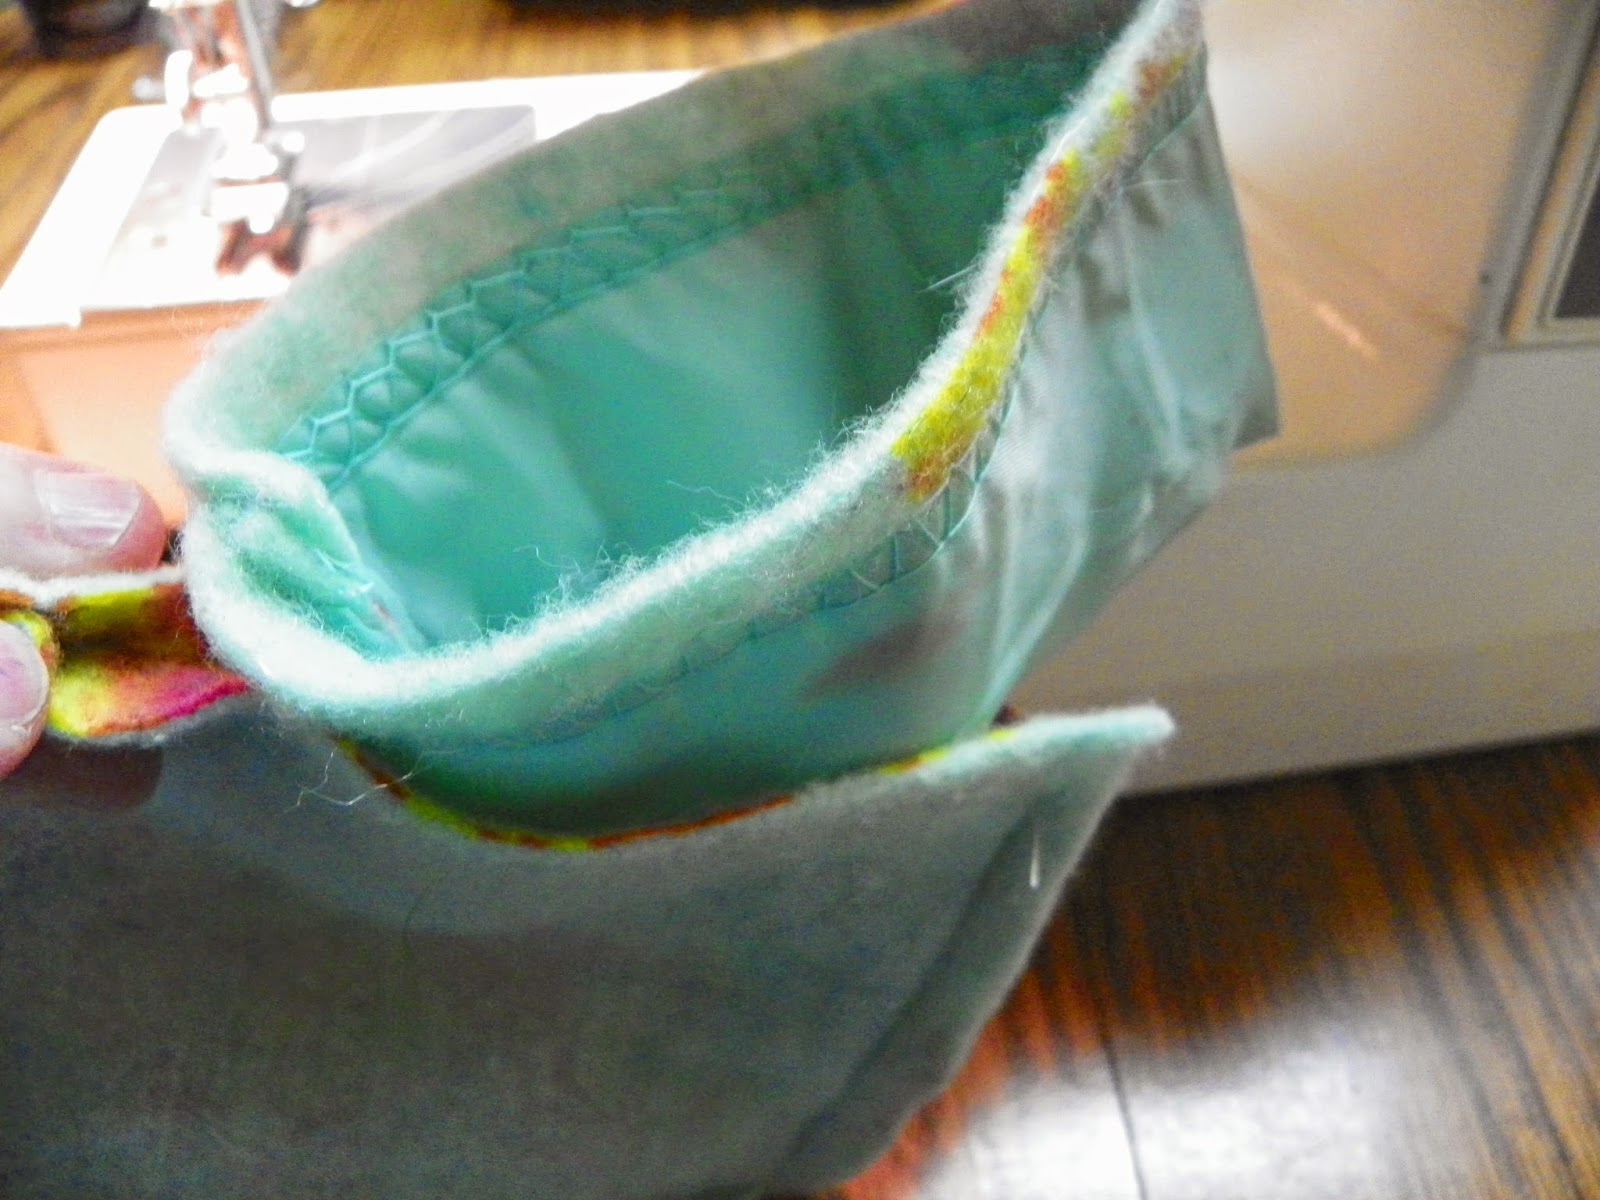
With right sides together...slip the binding cuff into the mitten lining. It will be a bit larger than the hole, but ease it in while sewing. Once sewen together pull the cuff straight and put your hand in the lining of the mitten. Turn the other mitten with right side out and then with help of your hand; push the lining into the mitten.


Once the lining is inside the mitten, turn the cuff down and whip stich the edge down to the mitten.

Sew on a decorative button.

Once you have made one mitten, it is easier to see what way to turn the pattern to make a match. I would suggest that you make 1 first - then cut out the next one. They are very warm and I actually think they turned out nice. I am giving these as a gift. If I have time....I might make more of these from the same blanket - they would be $12.50 a pair.
Blessings from Ringle, Wisconsin.
Linked to: http://www.sugarbeecrafts.com/2014/11/take-look-tuesday-11.html?utm_source=feedburner&utm_medium=feed&utm_campaign=Feed%3A+SugarBeeCraftsSewingRecipesCraftsPhotoTipsAndMore+%28Sugar+Bee+Crafts%3A+sewing%2C+recipes%2C+crafts%2C+photo+tips%2C+and+more%21%29
http://www.create-with-joy.com/2014/12/inspire-me-monday-week-154.html
Adorable! They turned out great!
ReplyDeleteI love these! Truly unique!
ReplyDeletethanks for showing how you made them...I'll be trying it for the grandkids!!
ReplyDeleteHi Jacky! These are too cute! You are so creative! Thanks for sharing the tutorial! Blessings from Bama!
ReplyDelete